The upper deck existed before my childcare home opened. It separated the South facing backyard from the East facing side yard. The side yard was the dog’s yard and the vast space under the upper deck was her dog house. The play space in the back yard consisted of a 300 sq ft gravel area with a play structure and a 360 sq ft ground level deck. The outdoor toys were stored in a tarp wrapped wooden frame shed built against the West fence.
The tool/garden shed was located by the carport – South of the lower deck and East of the gravel area. When we decided we needed a bigger garden space, we took the tool shed apart and rebuilt it ON the rarely used lower deck and attached it to the front of the toy shed. We then put in a bigger garden where the tool shed had been.
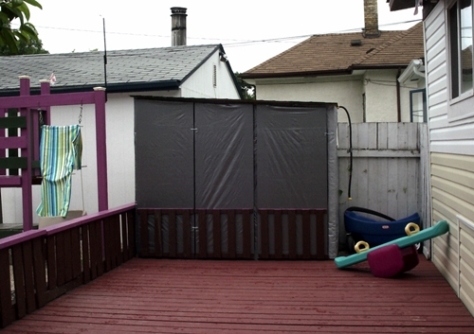
This picture was taken many years ago on the upper deck;

The shelf and framed white panel on the right side is the back and top of the old toy shed. The higher redwood wall beyond it is the back of the tool shed. Not visible in the picture – back door of the house behind me, stairs down to the back yard on the right, and stairs down to the side yard on the left. Also not shown is the bike shed which is in the side yard attached to the North side of the upper deck.
We had created ‘Frankenshed’ – it had a very large foot print but inefficient storage. You could enter the bike shed from the side yard, then crawl under the upper deck, go through the toy shed and then go out the tool shed into the back yard. However, it wasn’t a convenient path – more like a labyrinth where there was the possibility you could be lost for long periods of time. Sometimes when the children asked for toys that were stored I would tell them I’d see if I could find them on the weekend. I was never sure how long it might take me to find the toy and get back out of Frankenshed.
The only good way to get from the back yard to the side/front yard was by going over the upper deck. Even the lawn mower, snow blower, bikes and lumber had to be taken this way. It was frustrating at times. When the children and I were out in the back I couldn’t see the front gate because the upper deck and Frankenshed blocked my view. Consequently we rarely played outside later in the day when there was the chance parents may arrive.
So, on my vacation we;
- built a new tool shed in the side yard
- sorted all the stored items from all the sheds
- took apart the garden shed, toy shed, potty house and bike shed
- removed half of the upper deck and one staircase and moved the other staircase
- built a new toy shed and a new garden shed/potty house
- disassembled, repaired and reassembled the garden wall
- created a new ground level walkway
We worked outside for 10-12 hours each day of my two week vacation. It was wonderful! Now I want to spend even more time outside in the yard. Some of the changes are actually quite subtle but almost every part of the yard has changed at least a little bit so I’ll include before and after pictures for each corner of the back yard.


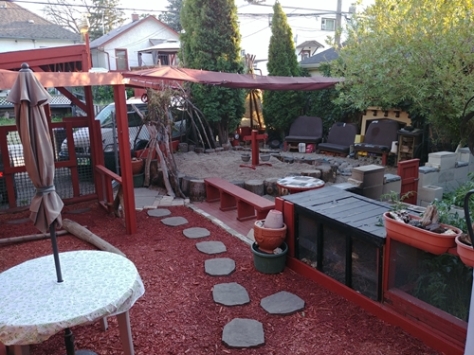


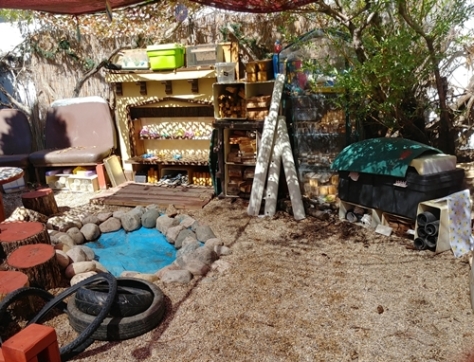
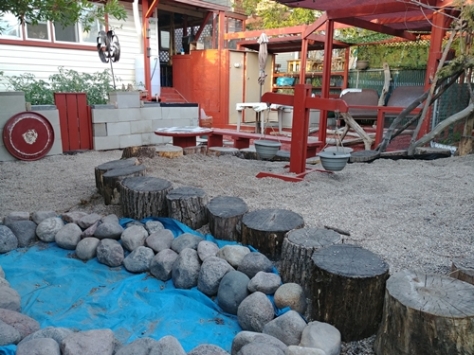

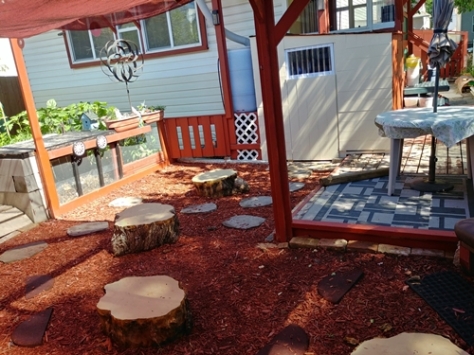
The stairs and a portion of Frankenshed were visible in the 2018 photo but in the 2019 photo there is only the smaller garden shed/potty house. This new little shed was built entirely from wood salvaged from the old shed and deck. The potty shed half is large enough for diaper changing and also has running water.
This next picture shows my view from the bench by the carport – on the East side of the garden shed I can now see all the way through the side yard to the front gate! The ground level walkway (also built from recycled deck boards) has enough space for the art table which used to be on the upper deck and was not visible from the yard. There is a small gate beside the garden shed to prevent any of the littles from wandering into the side yard which is still not a play area.
That’s enough writing for now – I’m going outside to play…

No comments:
Post a Comment